
If you use a kit. It’s surprisingly easy to create your own amp from a kit. So along with saving a lot of money, you’ll also be able to show off your DIY skills.
If you want to complete the kit with a DIY guitar you can read our guide on how to build your own electric guitar from scratch here.
We’re going to show you what equipment you’ll need to construct your rig. Then, we’ll take you through the full process. Check out our guide below.
If this is your first time, we highly recommend getting started with a kit.


Tube Amp or Solid State Amp?
There are two basic types of amps. They produce the same function but in different ways. Most players agree that tube amps are superior but let’s look at both types now.
Tube Amp

These amps deliver a mellow, nuanced sound that is generally nicer than their solid-state counterparts.
As the tubes are non-linear, they offer unique distortions that add to the overall musical experience. The downside is that they’re more delicate, heavier, and expensive.
Solid-State
Solid-state amps are sturdier and last longer than tube amps. They’re also cheaper and lighter. However, most guitarists agree that they don’t sound as good.
They deliver their sound through transistors. By comparison, the harmonics aren’t great, nor do they produce rich and varied tones.
Building the Amp
We’re going to focus on constructing a DIY tube amp because they’re more popular. Now let’s run through the different steps.
Equipment Required
You will need several tools to build your homemade amp. These include a Phillips screwdriver, a soldering iron, wire strippers and cutters, pliers, and a Digital multimeter.
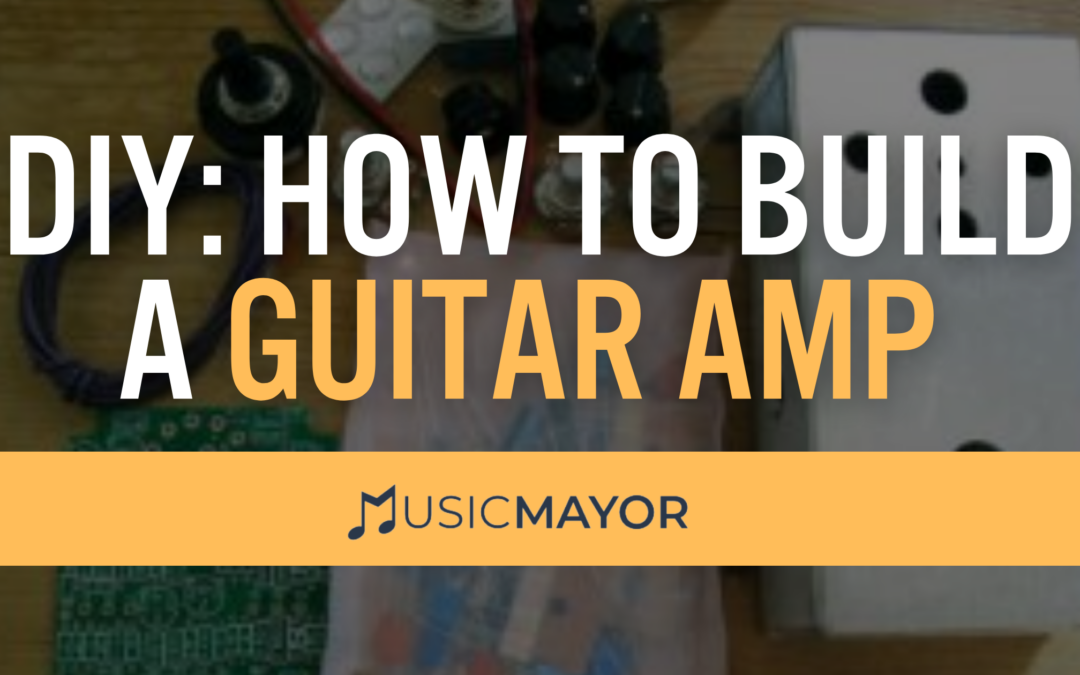
Then there are the amp’s components. It consists of a cabinet and boards, resistors, output transformer, speaker, vacuum tube, and amplifier tube.
Other miscellaneous components will be required to put the amp together, but they’ll be included in your kit guide.

Powering the Tubes
As the name suggests, the tubes are crucial to making a tube amp work correctly.
However, you will need to make adjustments because the tubes won’t work properly from the 120 volts mains supply. This is where the input transformer comes into play. It helps achieve five, six, and 325 volts to amplify the signal coming from the guitar.
How Many Watts?
There’s no straight answer to this question. It depends on the type of sound that you prefer. Even so, there are some guidelines you can follow.
10-20 watts are usually enough for beginners. Typically, their guitars are less demanding, and they don’t need to produce a massive sound.
If you’re a more experienced musician and perform in live venues, you can go for 20 to 50 watts. It gets more complicated if you’re playing in a band because you want your instrument to be heard, so keep this in mind.
Construction
If you’re not used to DIY or electronics, then this can be very intimidating. However, your DIY amp kit will come with its own instructions, so follow them closely.
Building Guitar Amp from Kit
Here is an overview of the construction process –
- Review the wiring diagram – This will ensure that you know what you’re doing and save you time as you progress to later steps.
- Prepare the boards and cabinet – These components work as a shell to keep everything together and protect them from the elements.
- Design a power supply – It’s worth measuring and recording the resistance value of all resistors before placing them on the board.
- Install chassis-mount components – The chassis houses all the transformers, wiring, and other electronic parts that make the amp work. If you are working with a kit, then they are already drilled. You can do this yourself, but it requires expertise.
- Wrap and solder the board – If you fail to solder the component leads, they’re more likely to become stressed when the amp warms and cools during a power cycle. Apply the solder to the cut end of leads or wires to cover the exposed metal.
- Complete wiring – It’s advisable to do as much wiring as possible before installing the circuit board because the chassis can get crowded. When installing the power cord, remember that the safety wire should have more slack in it.
Do yourself a favor and be sure to add a cover for power. (even if the kit doesn’t come with it) You’ll thank us later when you are traveling to your next gig.
- Bolt the circuit board into the chassis – Ensure that the transformers and choke are installed before you do this. Trim all of the circuit board leads to length. Don’t trim them too short.
- Complete assembly – Finally, you’ll install the external components like the knobs and speaker. Place the chassis in to the guitar cabinet.
Most kits will come with the guitar cabinet ready to go. But in the event a speaker cabinet box is not included, feel free to DIY that project tool.
Amp Kit Suppliers

If you’re a total beginner, it’s highly recommended that you get an amp kit. Here our favorite currently on Amazon.
StewMac Build Your Own ’59 Tweed 15W Amp Kit

5E3 Deluxe Guitar Tube Amp 6V6 Push Pull Kit Chassis DIY
StewMac Build Your Own ’65 P-Reverb 15W Amp Kit
Not only do they provide step-by-step guides, but you also have all of the parts available. It can be difficult to source some components.
However, if you are determined to do it by yourself, it’s not impossible. TubeDepot.com is useful for finding tube amp parts and specific equipment.
Health & Safety
Exercise extreme caution when you’re working with electronics.
There shouldn’t be much risk if you follow the instructions and do everything properly. But if you take shortcuts, the consequences can be terrible. Avoid putting both hands on the circuit. If a fault occurs, it will focus the shock around the chest area.
Make sure you use fuses with a suitable rating. It’s also important to learn how to discharge a capacitor.
Finally, be careful when using a soldering iron. Avoid poorly ventilated spaces and keep them in a safe, clear space when you’re resting them.
Final Thoughts
Building your guitar amp can be a fun and rewarding experience. To ensure that you create the best build possible, you should take your time and exercise caution.
We recommend that beginners use a kit because it’s much easier than trying to source individual parts. But you can also find Fender and Marshall schematics online and use them to help you create your amp.
If you want to develop a deeper understanding, there are dedicated books and videos on how to build a guitar amp.